Use Arcade in Visual Studio Code
In this guide, you’ll learn how to connect Visual Studio Code to Arcade.dev’s MCP server.
As of version 1.100.0, Visual Studio Code does not yet support MCP authorization. Only tools that do not require auth, such as math and search tools, will work with Visual Studio Code. We’re working to improve this - stay tuned!
Set up Visual Studio Code
-
Download and open Visual Studio Code (version 1.100.0 or higher)
-
Open the command palette and select MCP: Add Server…
-
Choose HTTP
-
Paste the following URL:
https://api.arcade.dev/v1/mcps/arcade-anon/mcpThis URL is Arcade’s public beta MCP server. We’d love to hear your feedback! Coming soon: deploy a server with your own tools.
-
Give your MCP server a name, like
mcp-arcade-dev
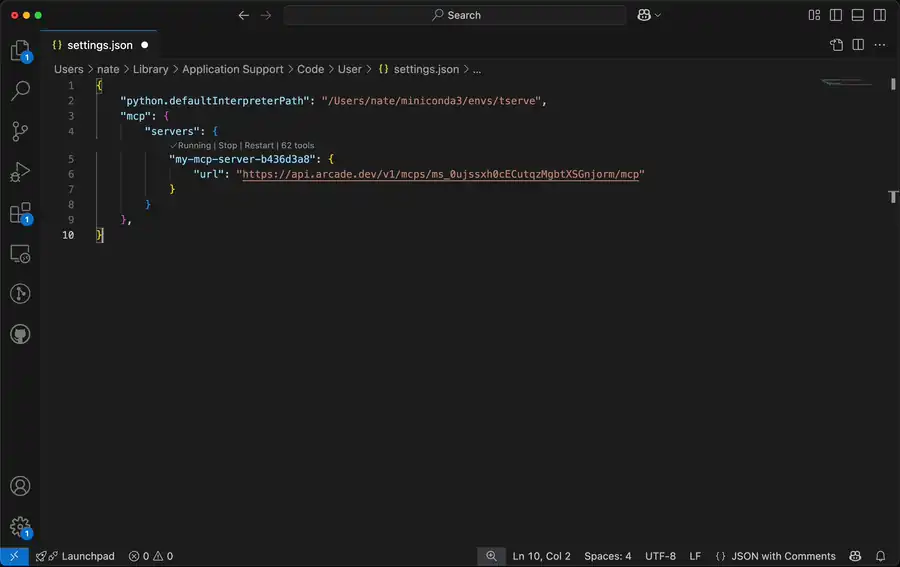
Visual Studio Code will update your settings.json file with the following:
    "mcp": {
        "servers": {
            "mcp-arcade-dev": {
                "url": "https://api.arcade.dev/v1/mcps/arcade-anon/mcp"
            }
        }
    },
Try it out
- Open the chat pane (typically Cmd-Shift-I or Ctrl-Shift-I)
- Make sure you are in Agent mode
- Click the 🛠️ Tools button, which opens a panel of available tools
- Click to select the tools you want to use, and type your request in the chat pane!