Use Arcade in Claude Desktop
Outcomes
Connect Claude Desktop to an Arcade Gateway.
Prerequisites
- Create an Arcade
- Get an Arcade API key
- Create an Arcade MCP Gateway and select the you want to use
For Claude Desktop, you need to set the Authorization field to Arcade Auth
in the dashboard. If you are using the Arcade Headers auth mode, you won’t
be able to use it with Claude Desktop.
Production end with their own identities? If your end users already sign in to Entra ID, Okta, Auth0, Clerk, or another OIDC provider, configure a User Source on your gateway. Arcade redirects each end user to your identity provider on sign-in and identifies them by an OIDC subject claim.
Go to your Claude Desktop setting page
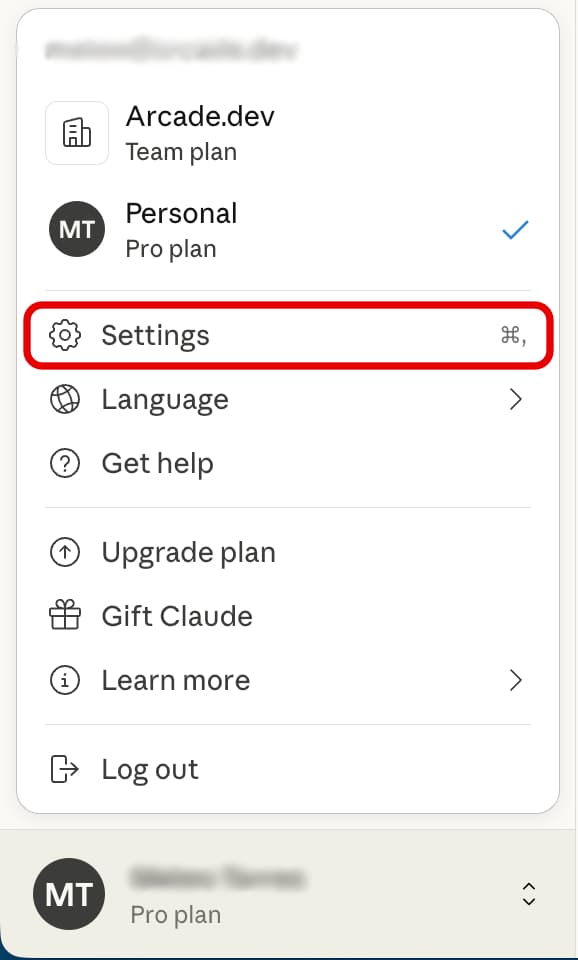
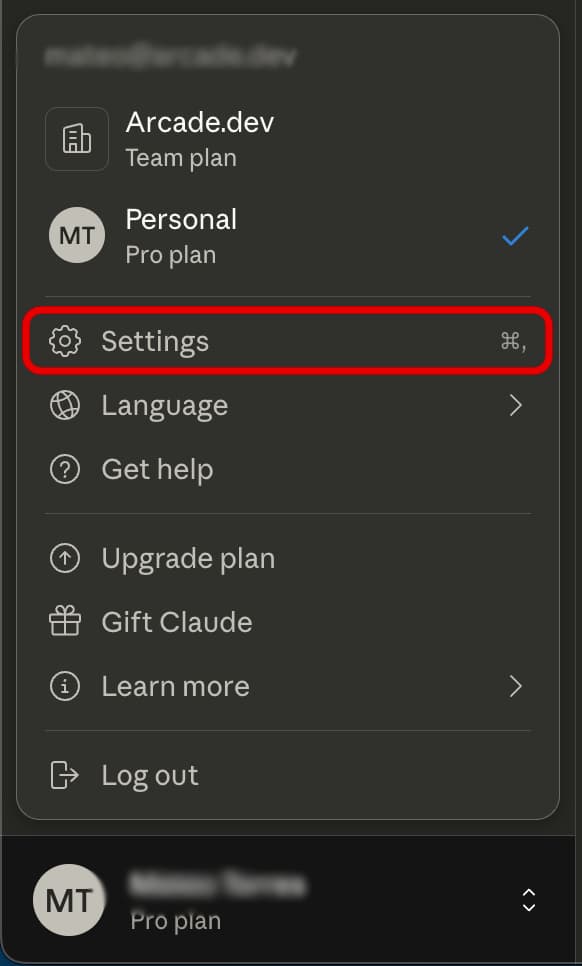
On the bottom left corner of Claude Desktop, click on your avatar to open the settings menu, then click on the “Settings” button.
Add a Custom Connector
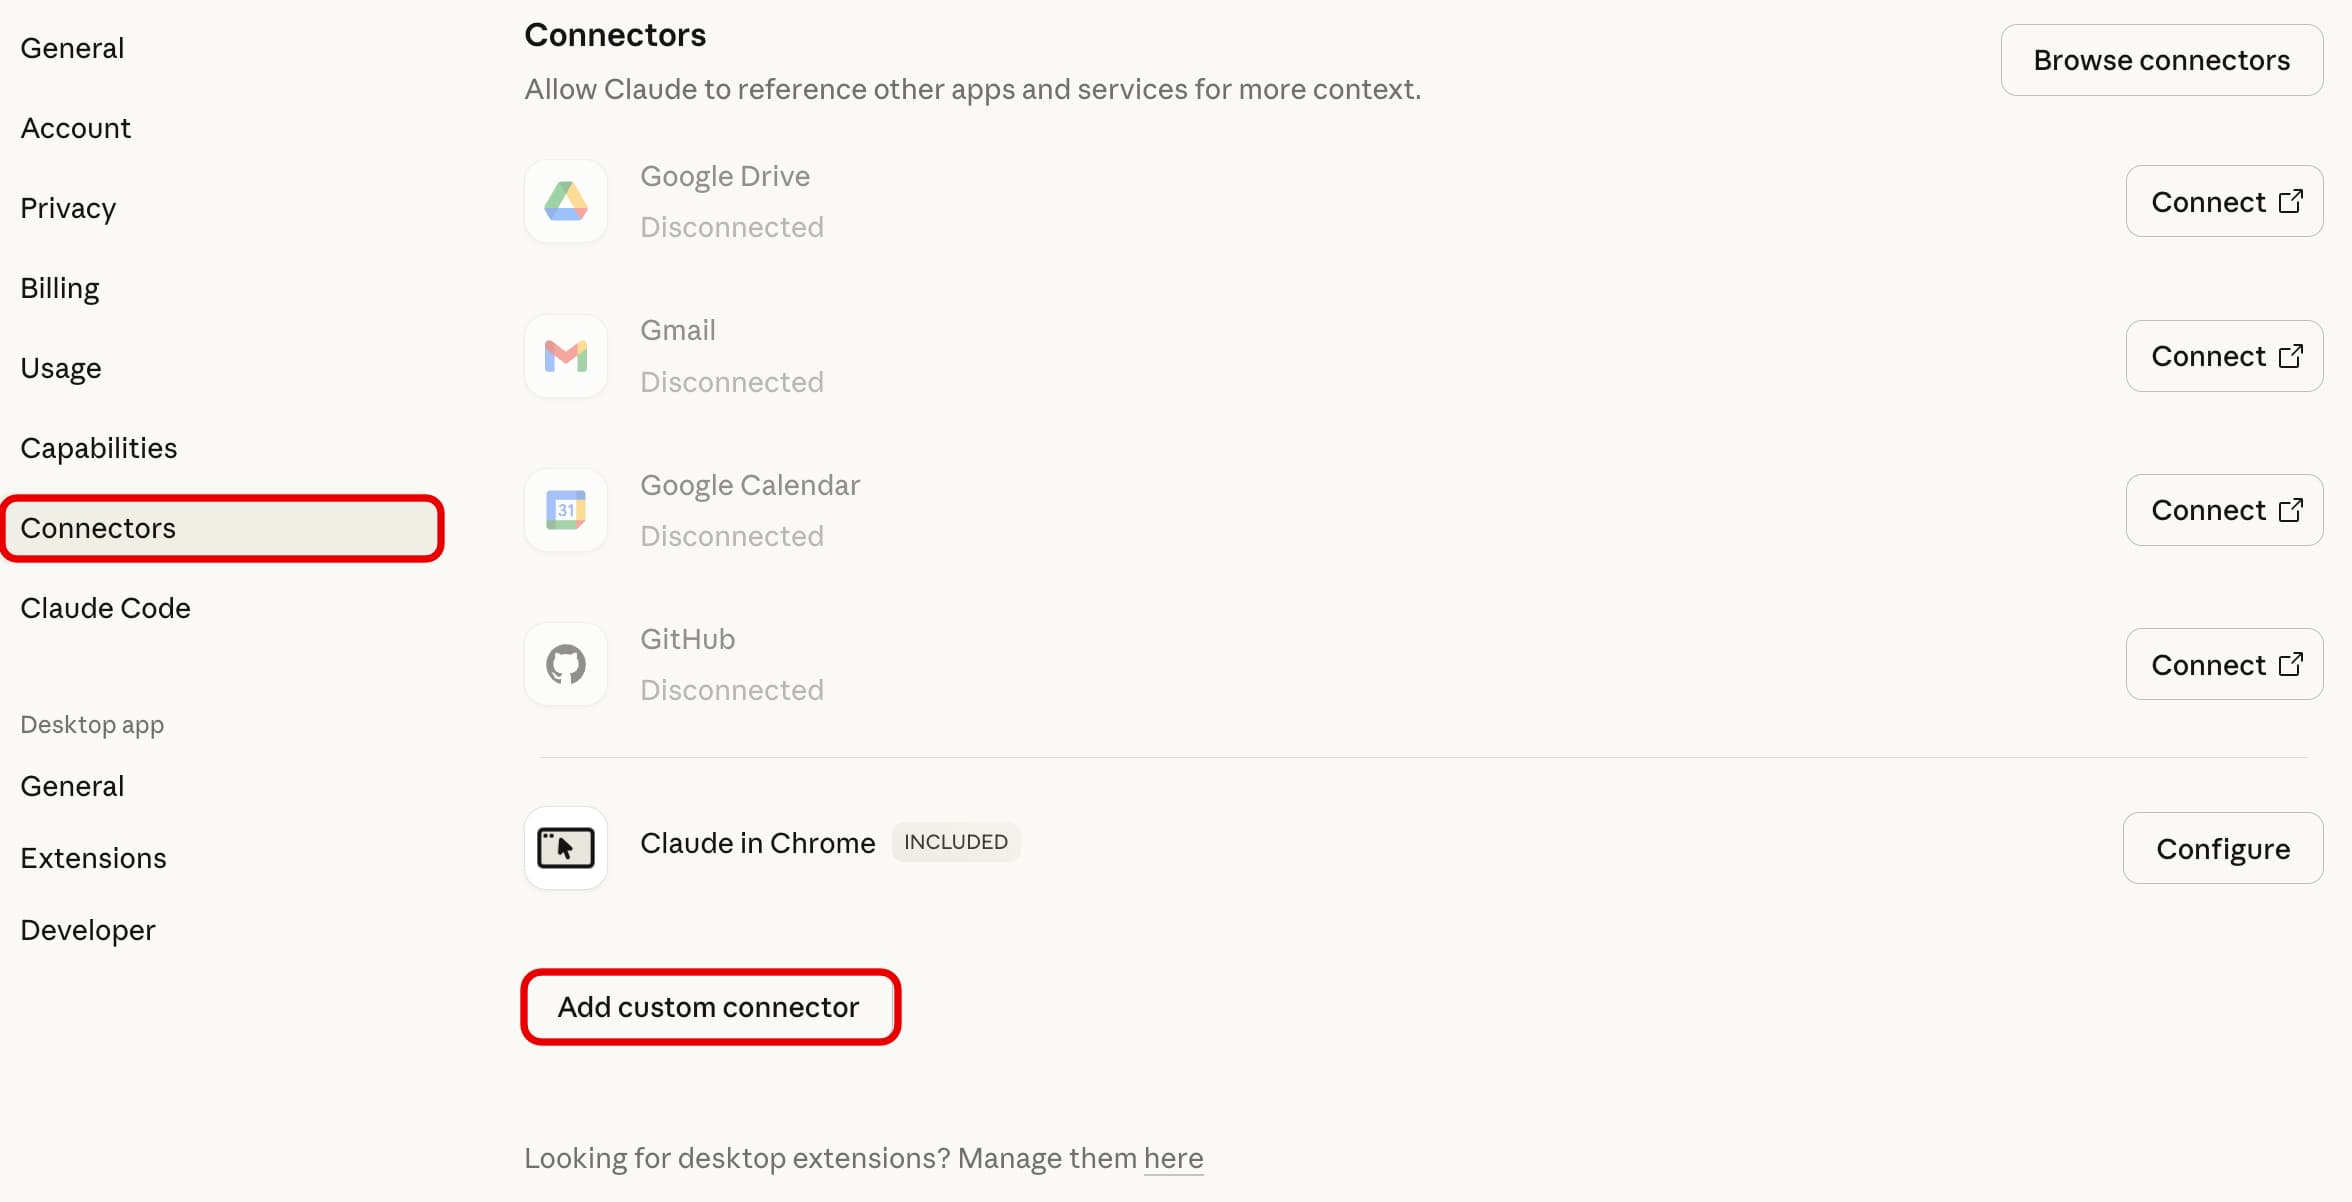
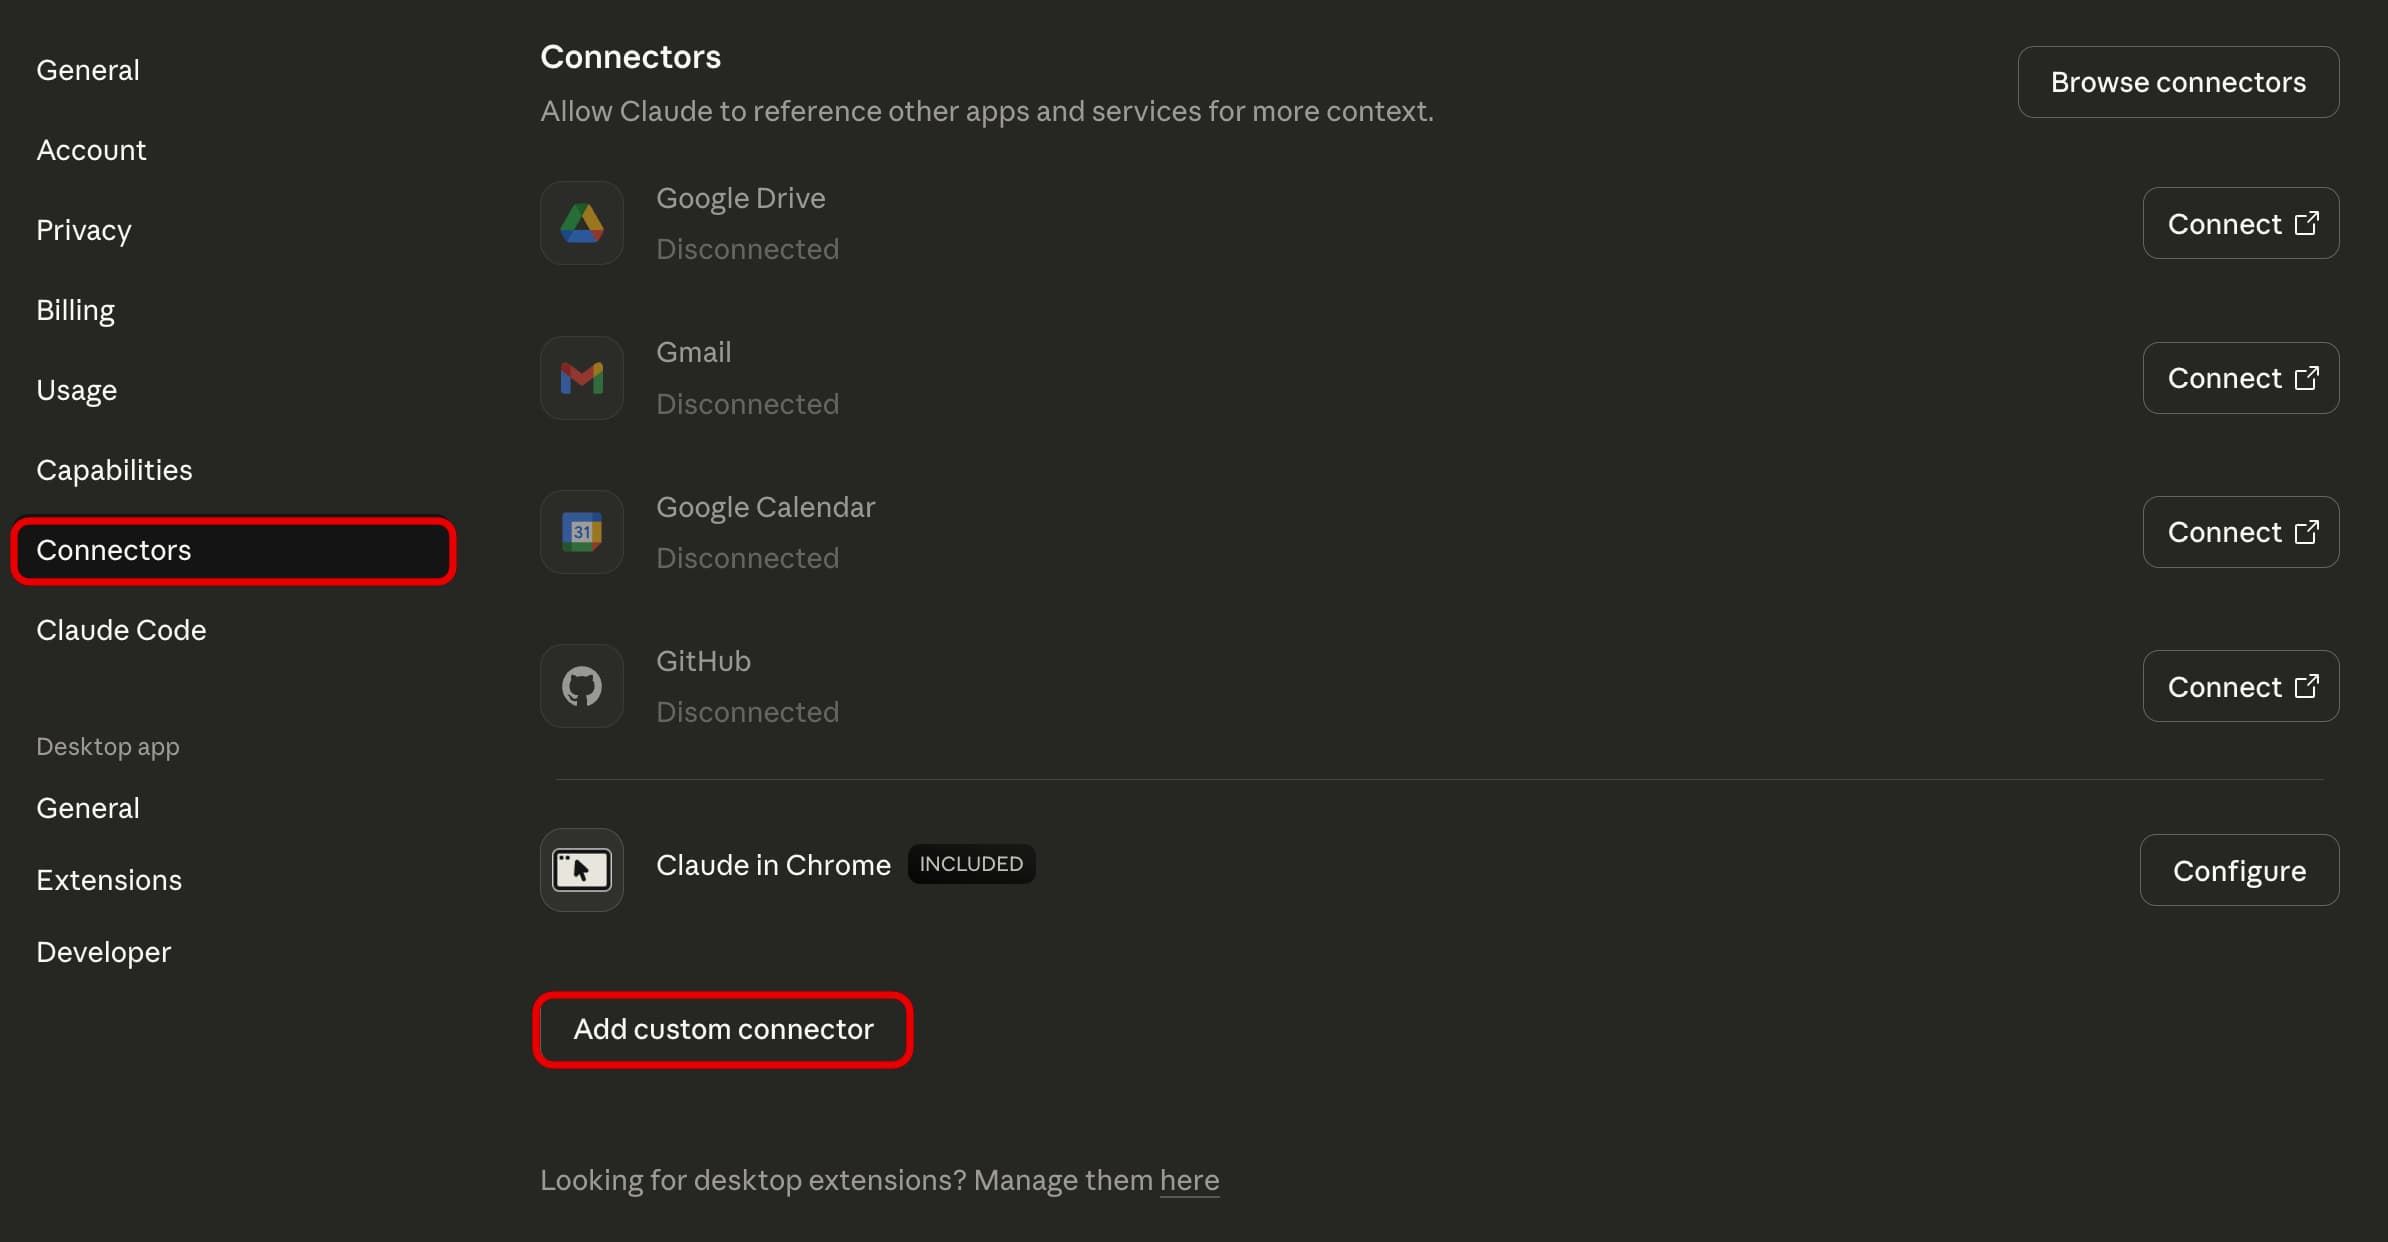
On the settings page, click on the “Connectors” tab, and then on the “Add custom Connector” button.
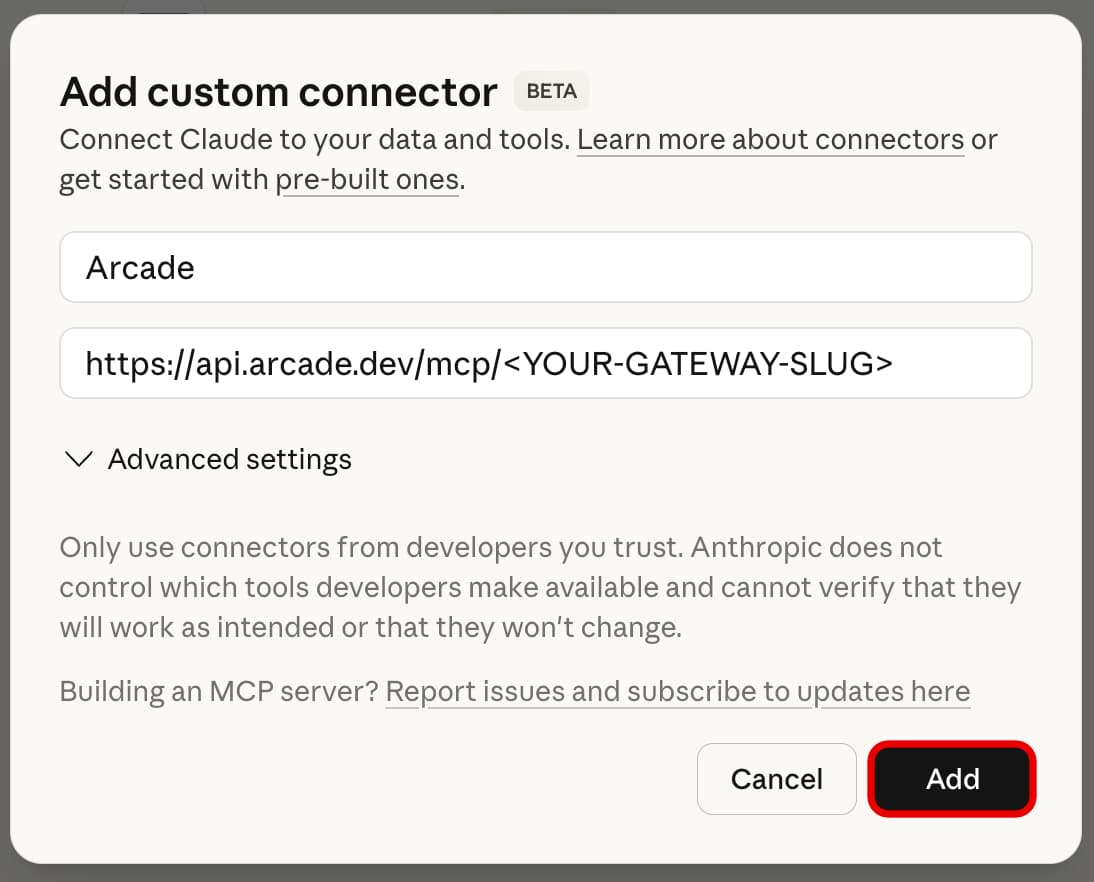
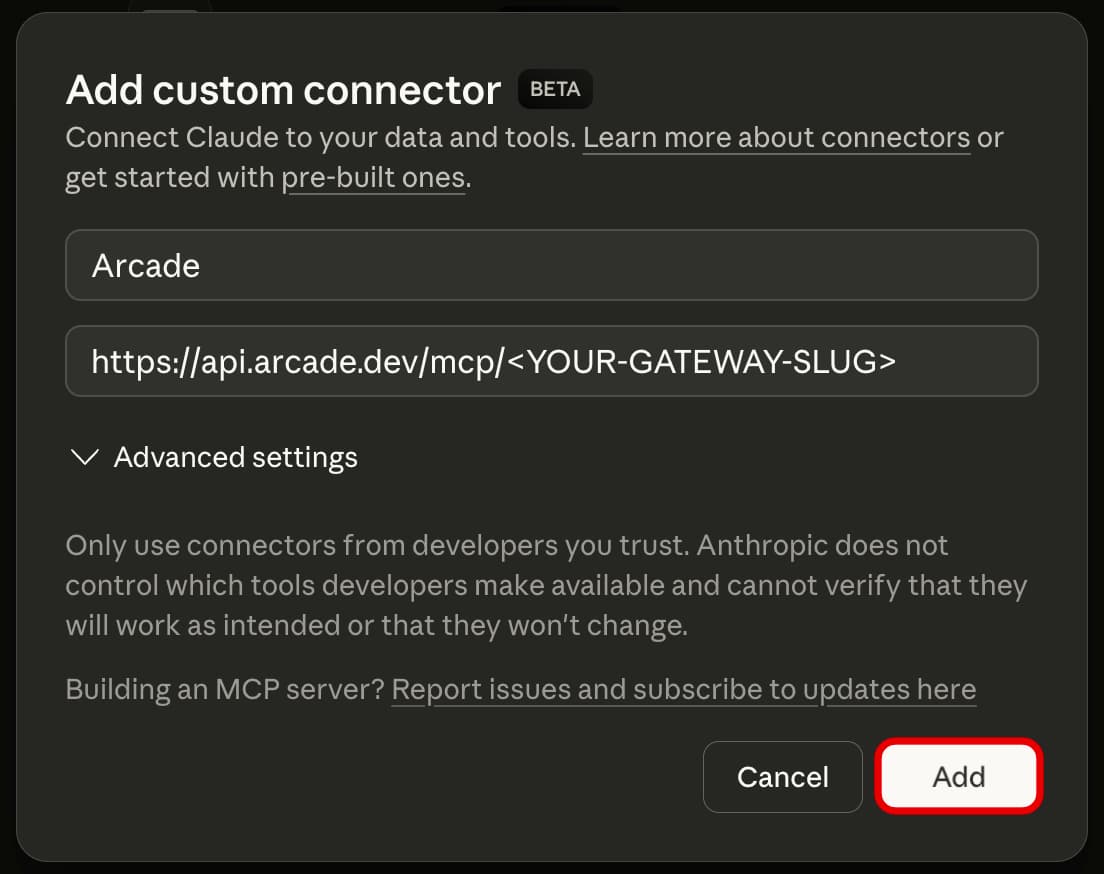
A dialog opens for a name and a URL. Enter a name for your connector and your Gateway URL:
https://api.arcade.dev/mcp/{YOUR-GATEWAY-SLUG}If you self-host the , use your Engine hostname in place of api.arcade.dev. Then continue.
Keep the detected defaults
Claude checks the gateway URL and shows Authentication and OAuth client options. Keep the values marked Detected:
- Sign in now for Authentication
- Use Claude’s published identity for OAuth client
Those defaults match Arcade Auth and User Sources. Do not switch to Sign in when needed or No sign-in. Those options skip or delay the OAuth flow Arcade uses. Do not switch to Register automatically or Use your own OAuth client. Arcade already supports Claude’s published identity (CIMD). Leave Request headers empty. Leave Advanced collapsed.
Then click Add.
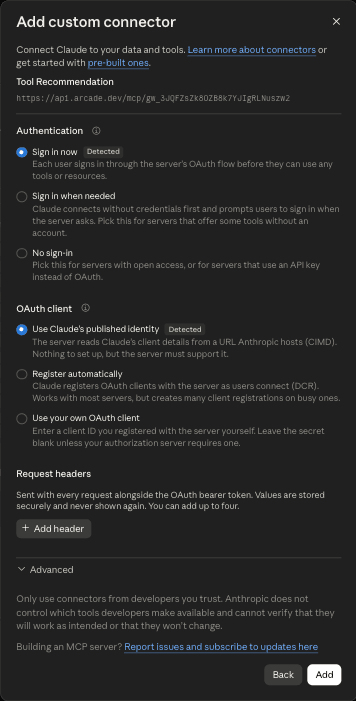
If your dialog is a single screen with Advanced settings instead of these options, leave Advanced settings empty and click Add. The result is the same.
On Claude Team and Enterprise plans, only an Owner can add a custom connector. In Organization settings → Connectors, click Add, then Custom, then Web. Paste the gateway URL, keep the Detected defaults, and click Add. Each member then clicks Connect under Customize → Connectors.
Authenticate with your Arcade account
You will see a new connector added to your list of connectors. Click on the “Connect” button to authenticate with your Arcade .


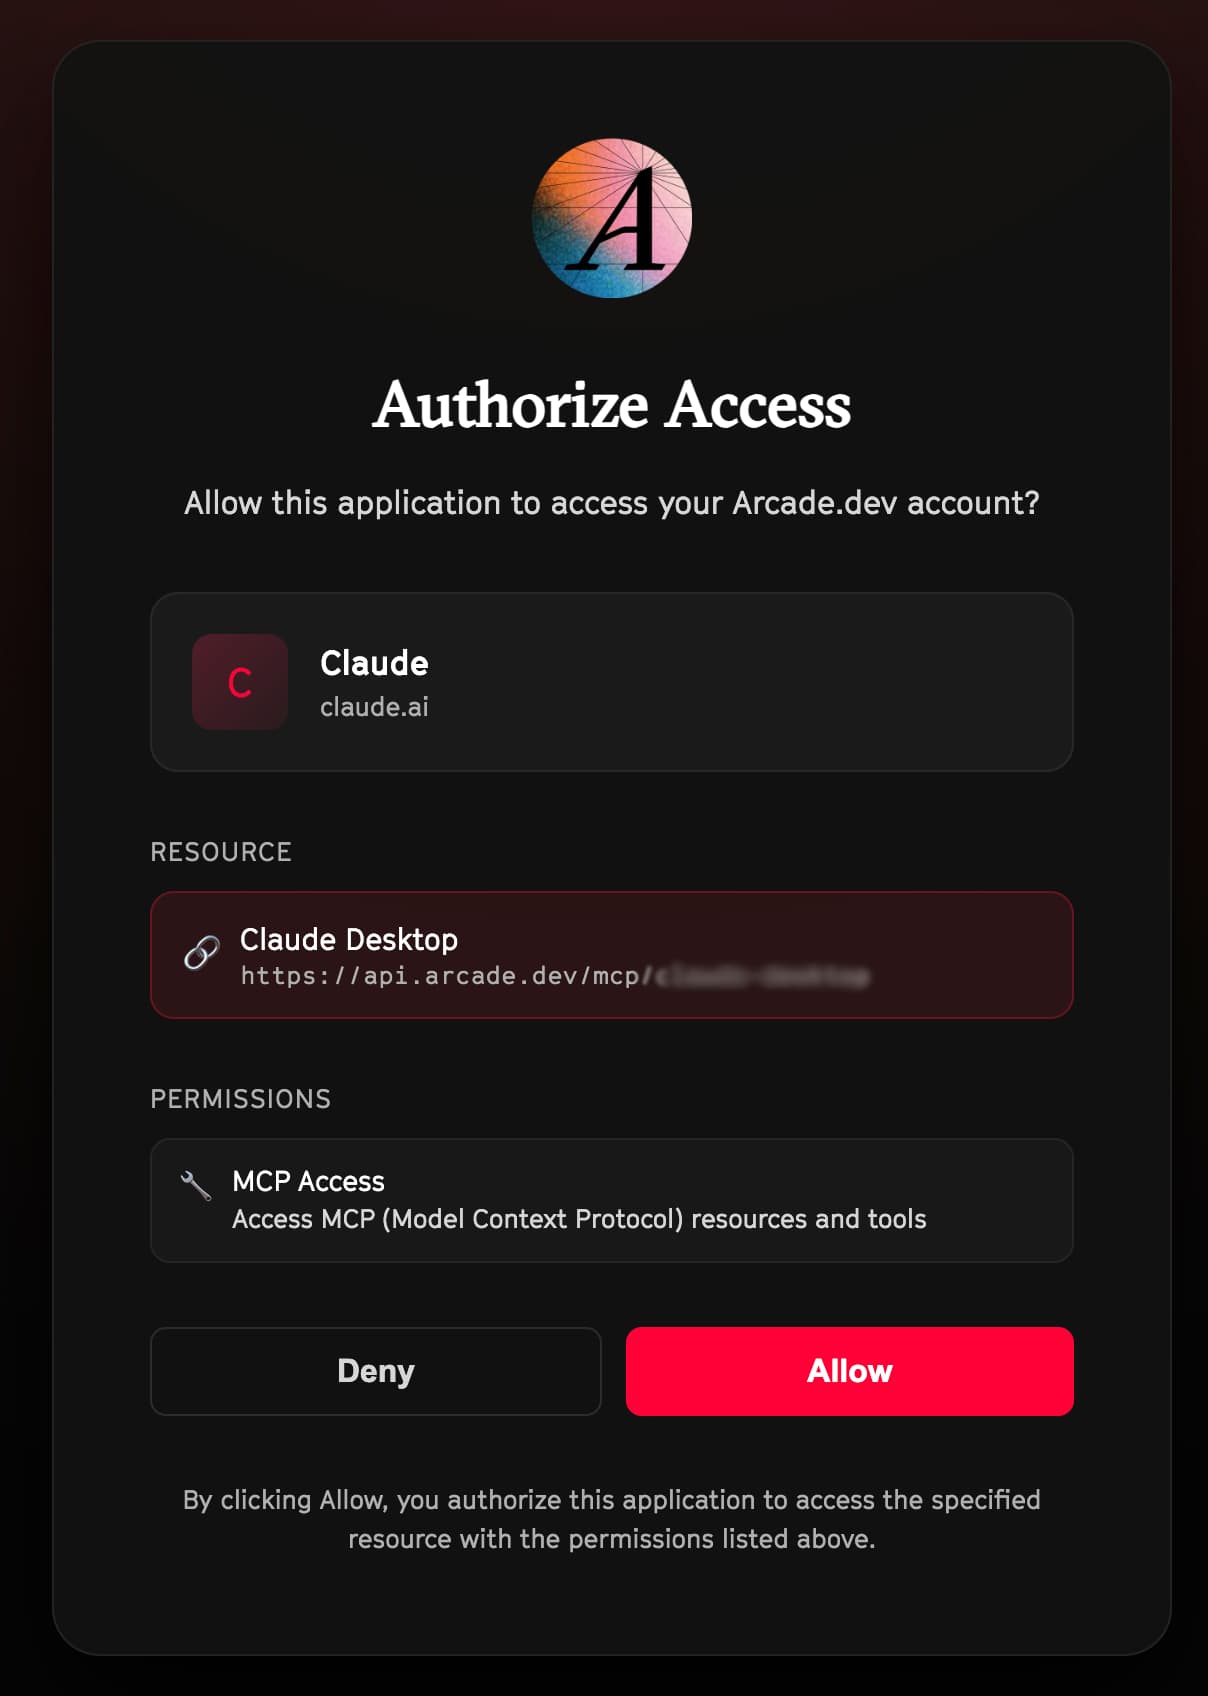
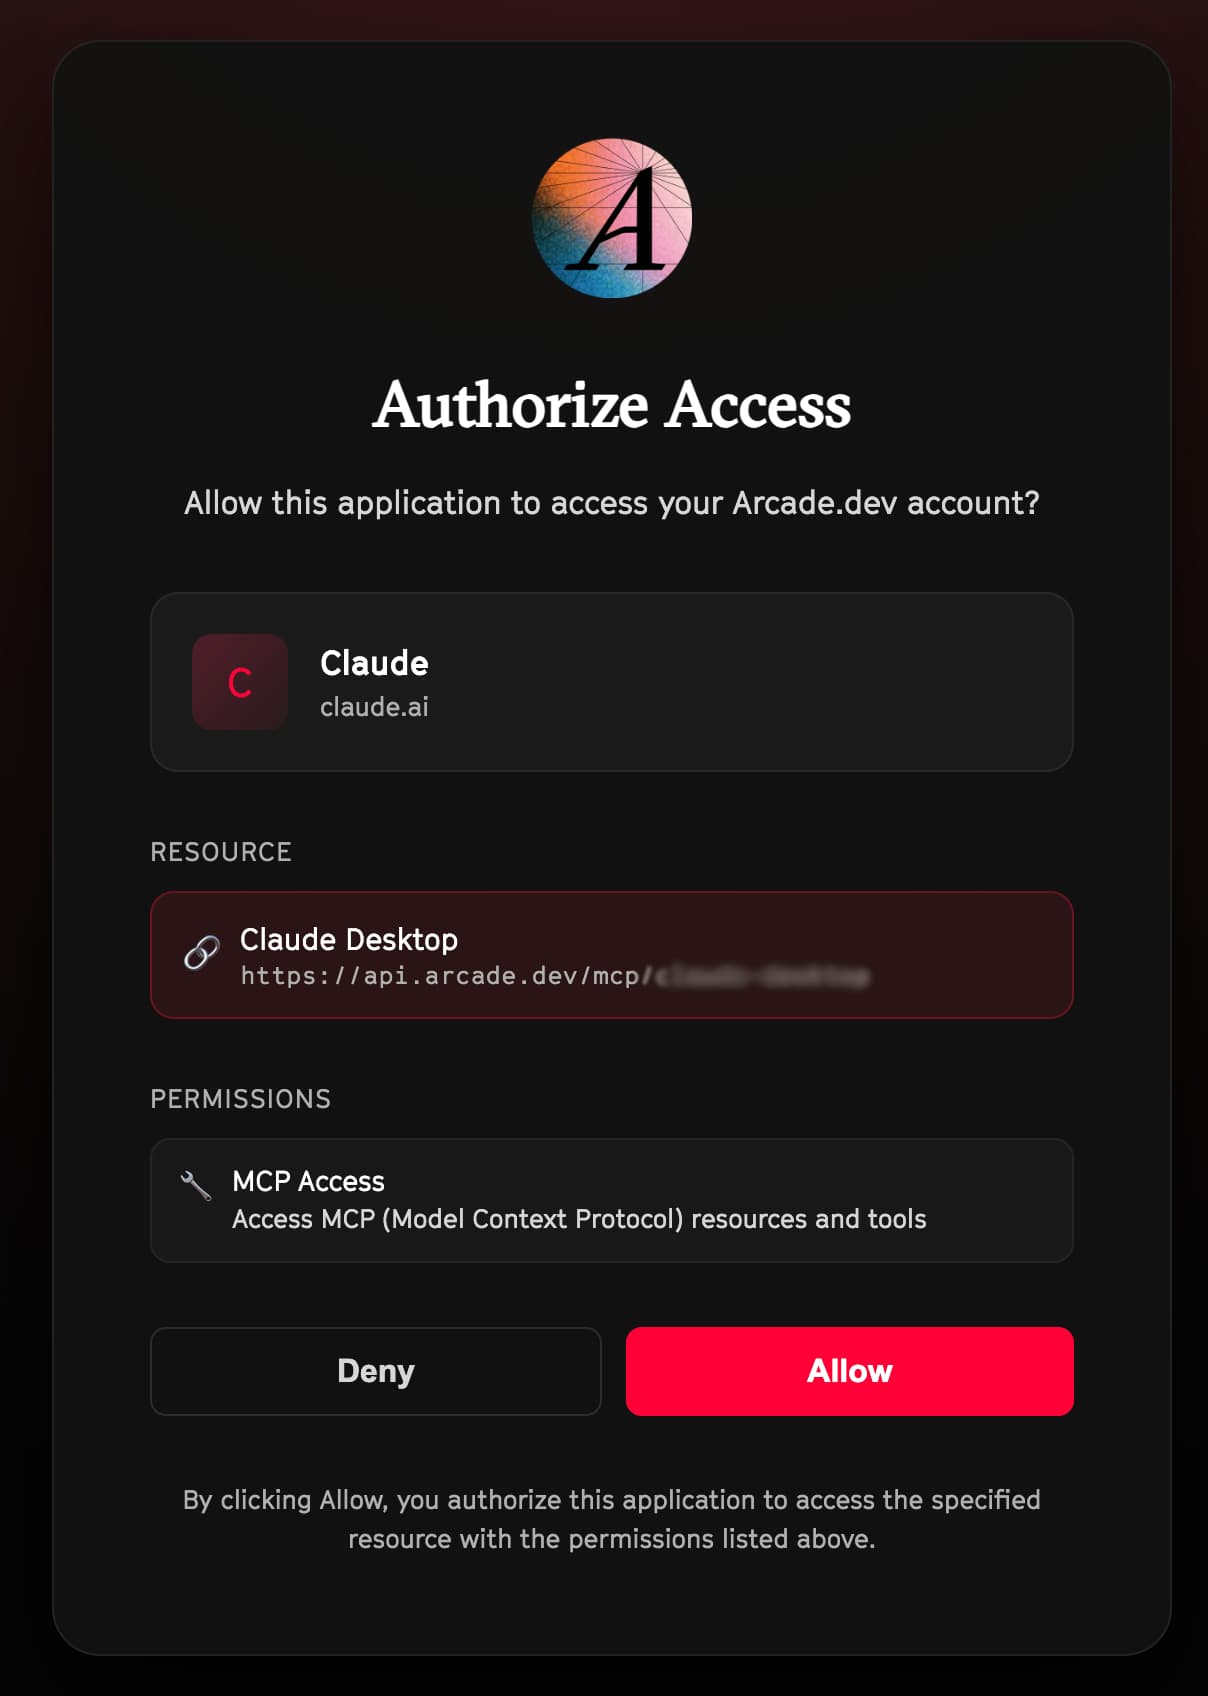
Your browser will open a new tab to authenticate with your Arcade . Check that the URL matches the one in the modal dialog, and then click on the “Allow” button.
Configure the MCP Gateway
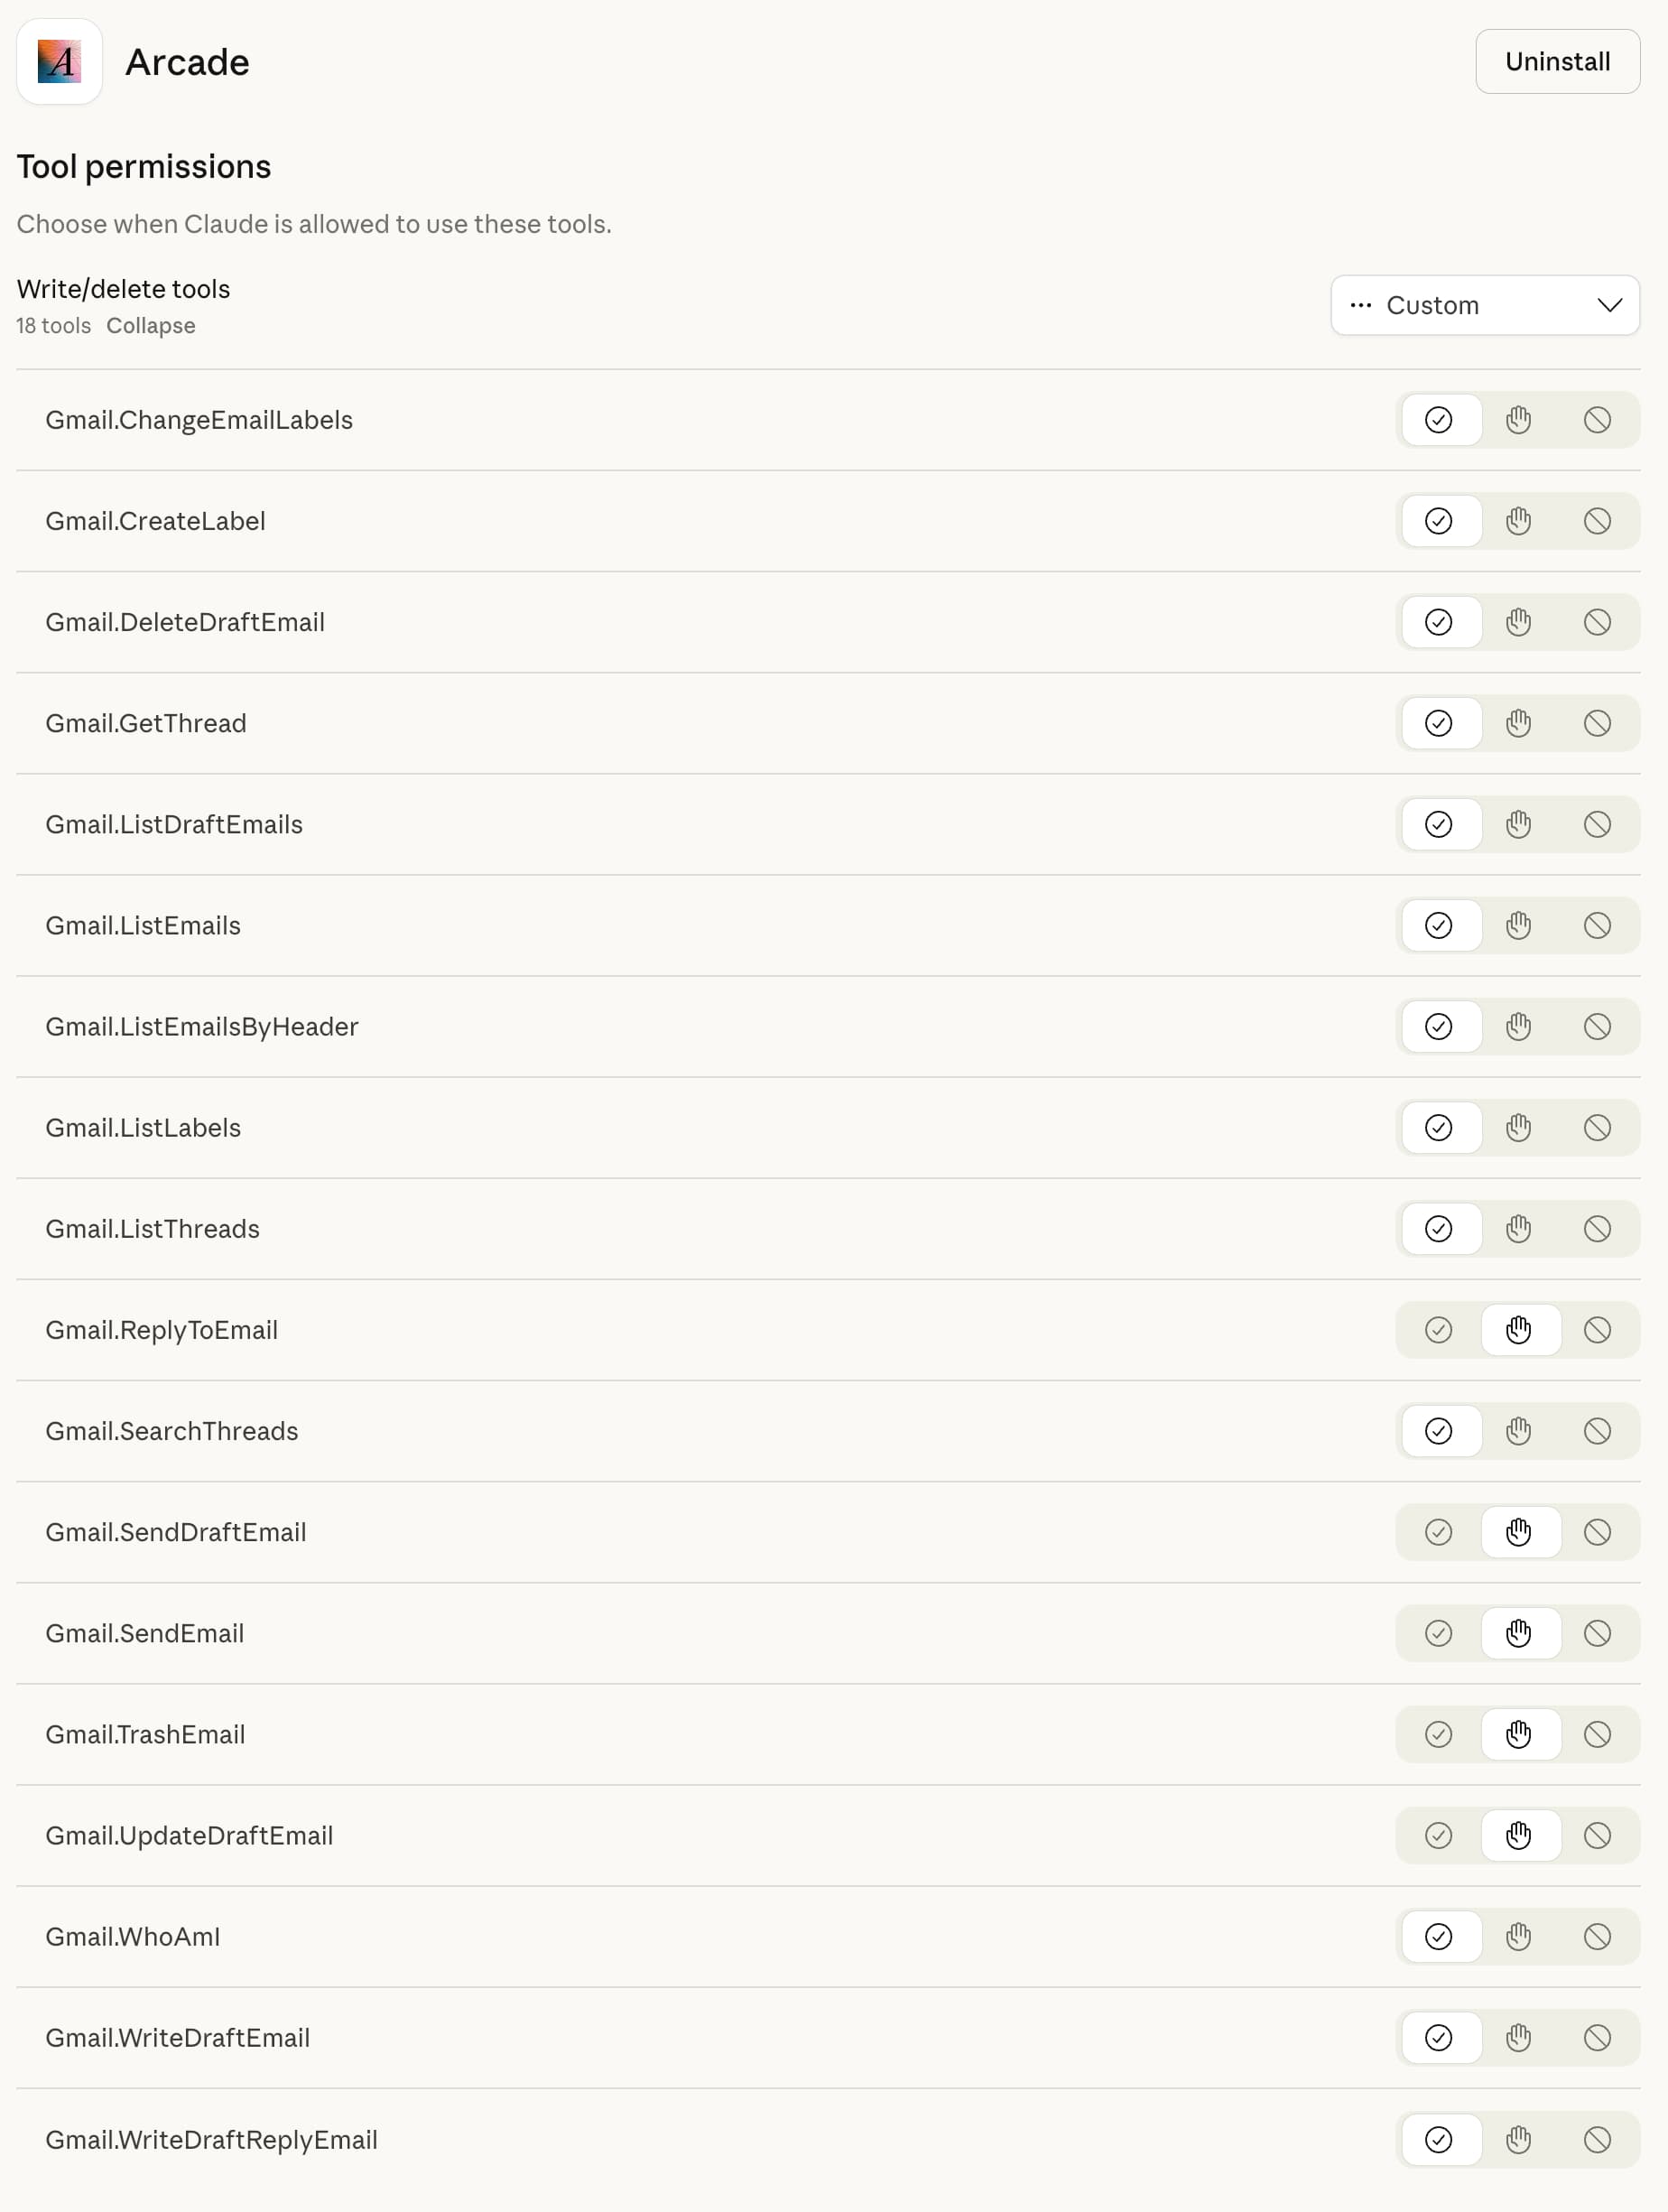
Now Claude Desktop is connected to your Gateway, it’s a good time to configure the to your needs. Click on the “Configure” button to open the configuration dialog.


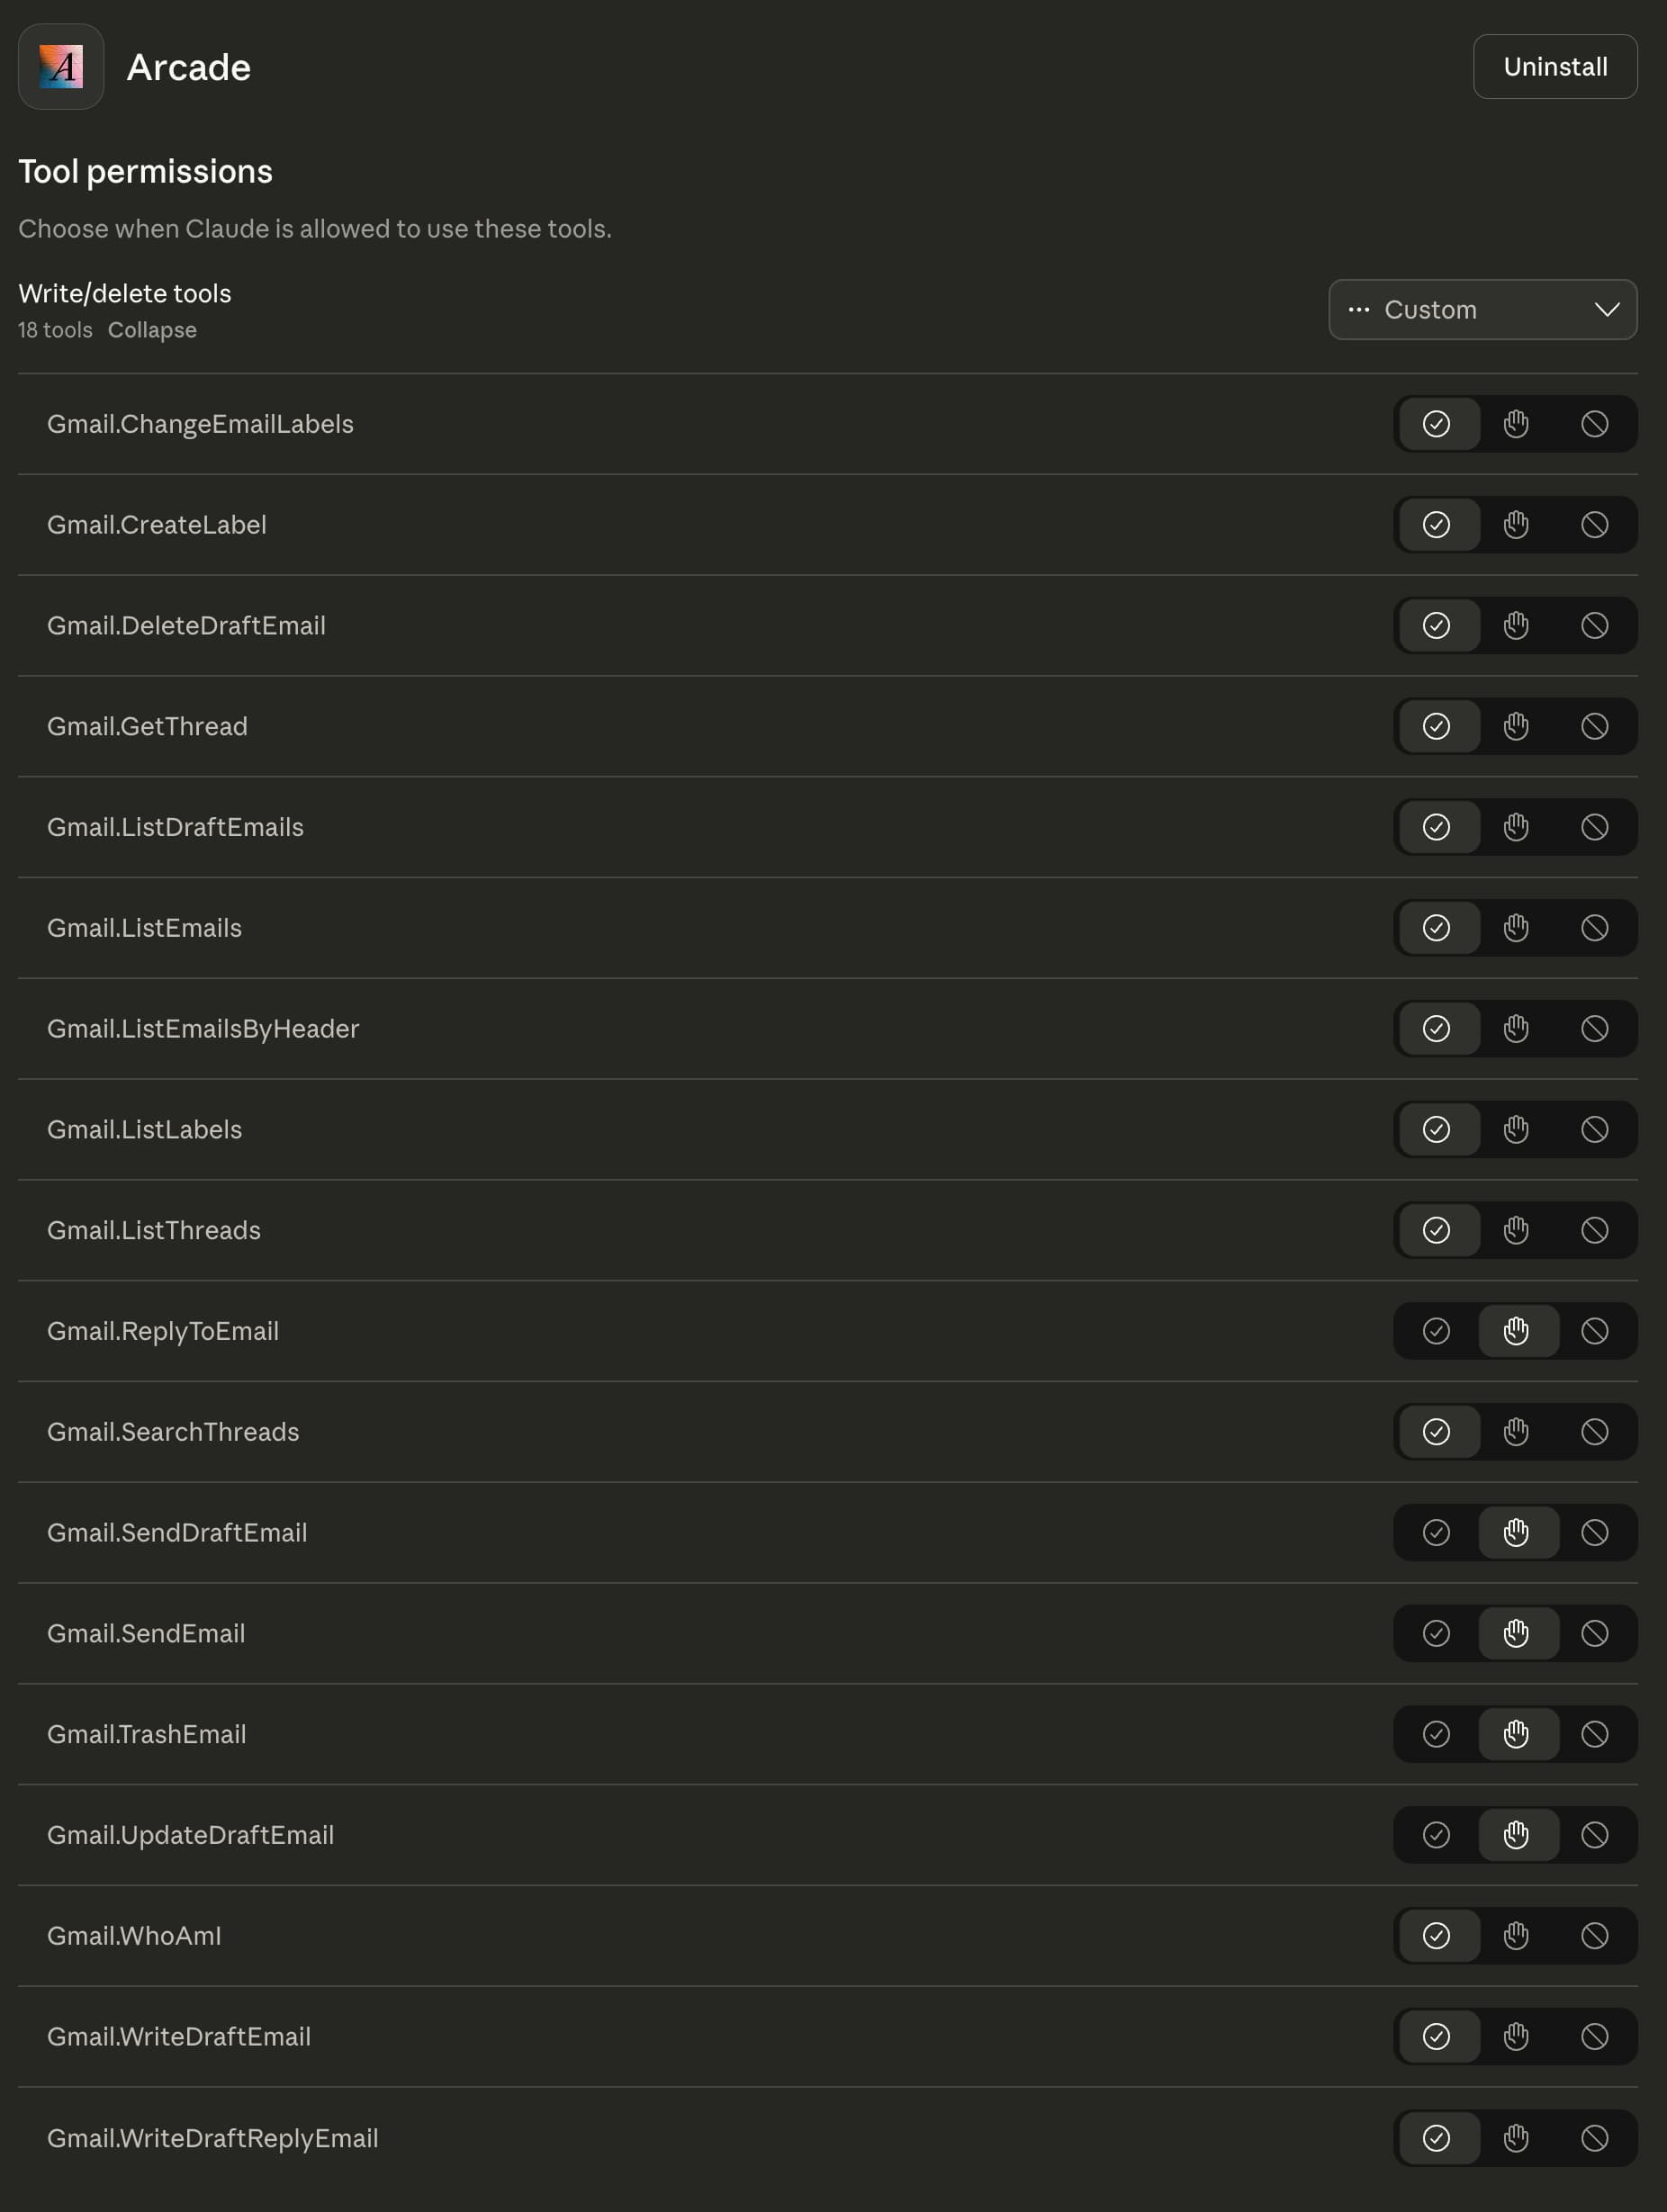
In this configuration pane, you can configure which tools are available to Claude Desktop, and whether or not they require human confirmation. On this example gateway, we require human confirmation for all that may have destructive actions, or actions with potentially undesired consequences.
Try it out!
You can now open a new chat within Claude Desktop. Ensure that your connector is enabled, and the ask the to use a !